How To Install Joomla
Step 1 – Have you read the pre-installation instructions?
Before you start please read the Joomla Pre-installation guide.
Step 2 – Downloading the product
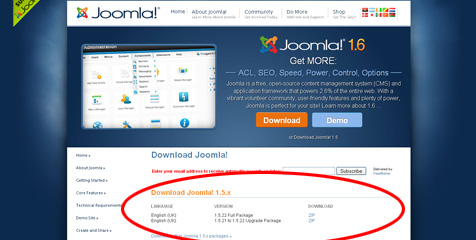
Visit the Joomla download page and get the latest Joomla package.
Downloading the Latest Version
The only way to be absolutely certain that you are getting the latest version of Joomla is to download the files through the official Joomla website. (Note: If you do download an older version of the Joomla program you will need to update the package straight away. Not doing so can leave your website open to security vulnerabilities).
Download and extract the files to your computer.
Step 3 – FTP and Uploading
Login to your web hosting account with an ftp program.
(Filezilla is a freely available ftp program and works well)
Choose whether you would like to install Joomla in the root directory of your website, or in a folder(sub directory). Installing Joomla in the root directory will launch the program when someone types in your domain name.
i.e. www.yourdomain.com.au
Installing Joomla in a subdirectory will allow Joomla to launch from a specific folder.
i.e. www.yourdomain.com.au/joomla/
Note: This installation tutorials assumes Joomla will be installed in the root directory.
i.e.www.yourdomain.com.au/
Step 4 – Installation Wizard
Once all files have been uploaded successfully open your internet browser and go to your website.
Joomla will automatically redirect to the installation directory at http://www.yourdomain.com.au/installation/index.php
You should now be presented with the Joomla installation wizard. If you cannot see the installation wizard make sure you have spelt your website and / or subdirectory correctly. If you still cannot see the installation screen you may need to re-upload the package using your ftp program.
Additional support can be found on the Joomla forum if you cannot open the installation directory.
7 steps to complete the Joomla installation wizard.
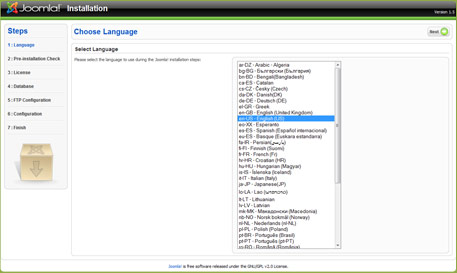
1) Selecting your language
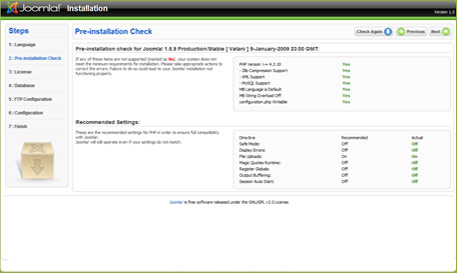
2) Pre-installation Check
Don’t be too worried about understanding the technical jargon at this point. The pre-installation step is simply to check to see whether your web server is equipped to run Joomla. Contact your webhost if you experience issues at this point.
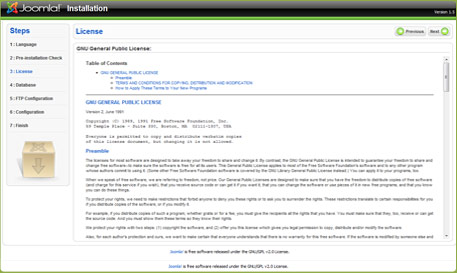
3) Reading and Accepting the user license
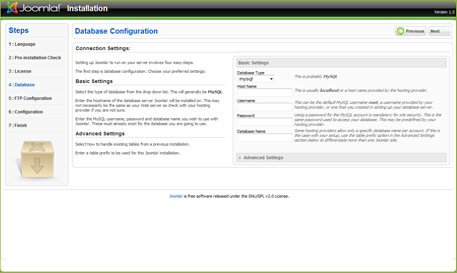
4) Database Configuration
This is where we need to take an additional step. See below.
Creating a mysql database: Open a new window and log into your web hosting administrator control panel.
- If you are using cPanel scroll down to the database options and select MySQL Databases.
- Create a new database – this can be called what ever you like. – Just be sure to write these details down as they will be required in the next step.
- Once you have created the database scroll down and create a user. – Once again be sure to write these details down.
- The next step is adding the user to the database – make sure you have the correct user and database selected the use the add button.
- You will now be prompted to set permissions – Check required boxes.
Once you have created the database navigate back to the Joomla installation wizard and fill in the appropriate fields for the database configuration.
Your setting should be the same as the following.
- Database Type: mysql
- Host Name: localhost
- Username: username chosen during the mysql database setup
- Password: password chosen during the mysql database setup
- Database Name: databasename is chosen by yourself during setup
Click next to see if the database information is correct. You will receive an error message if you do not input the information correctly. Please carefully check for any spelling erros and retype your password carefully.
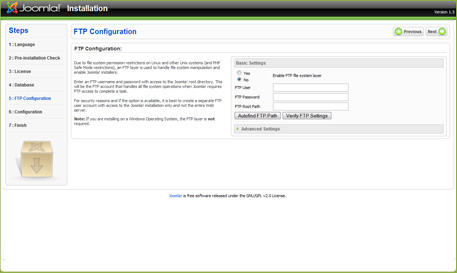
5) FTP Configuration
Choose No for FTP configuration.
6) Main Configuration
Choose No for FTP configuration.
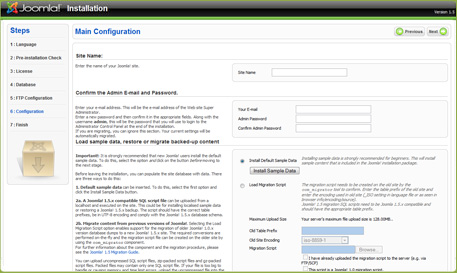
This section is pretty self explanatory. Proceed to fill out the fields with your site name, email, admin pass etc. Make a note of these details for future reference. If you looking to modify your website straight away using the sample data is a good idea to give you an example of how a live site will look with sample information. If you already have your websites information ready to go do not install the sample data. Do not load migration script as this is a clean install. This is something you would use if you were upgrading from a previous version of Joomla Click Next
7) Finish – Installation Complete
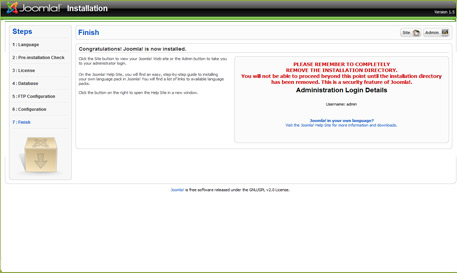
If you can see the screen above CONGRATULATIONS you have just successfully installed Joomla.
Step 5 – Final Step
One more very important thing before proceeding. To protect yourself and start using Joomla you will be required to completely remove the installation directory.
Log onto your web hosting account via ftp, select the “installation” directory and hit delete.
Now your done. The site is now ready for your content.
To see what your website looks like under the default template for Joomla go to your website: www.yourdomain.com.au
To log into the administration panel and start making changes go to www.yourdomain.com.au/administration

